Firmware
Filter by product to ensure you are downloading the firmware compatible with your unit.
VBOX HD2 & VBOX HD Lite
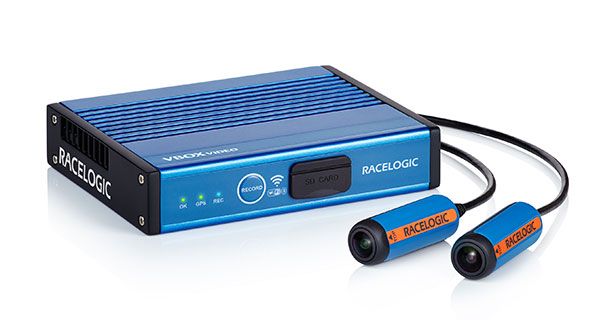
VBOX Video HD2 Firmware
(All variants)
Uploaded: 7/2025
This firmware is required to use the new RLACS329 cameras (orange RACELOGIC label). Please read the upgrade instructions thoroughly to avoid compatibility issues.
Please make sure you are using the latest HD2 setup software.
Password protected. REGISTER your VBOX Video HD2 to receive login details.
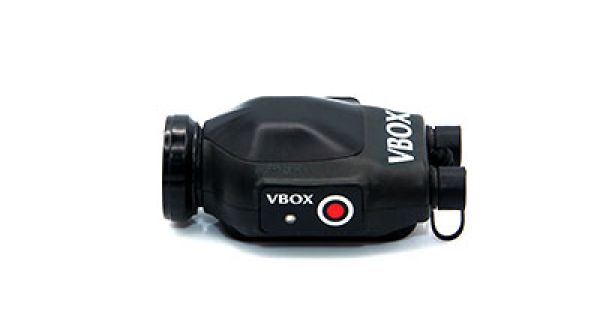
VBOX HD Lite
Firmware
Uploaded: 4/2023
Password protected. REGISTER your video logger to receive login details.
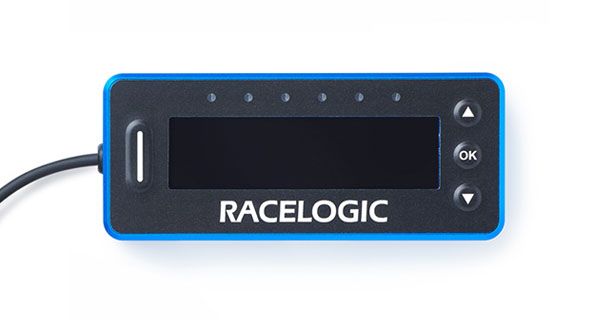
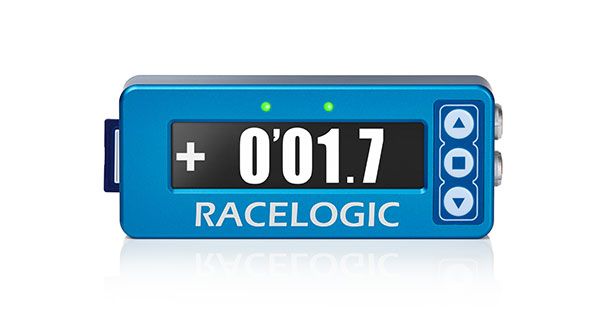
OLED Display (DSP07-L)
Firmware
Updated: 10/2025
Predictive Lap Timing Display firmware for use with VBOX Video HD2
How to upgrade via VBOX Video HD2 ...
Password protected. REGISTER your video logger to receive login details.
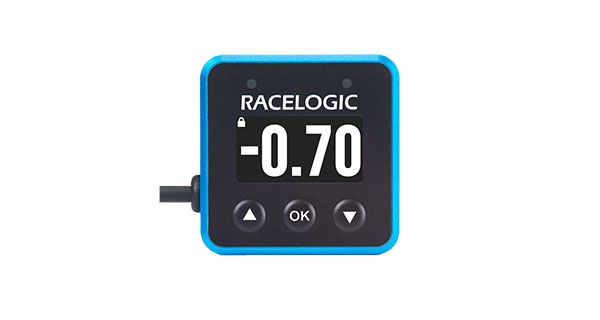
Mini OLED Display
Firmware
Uploaded: 6/2022
Miniature speed & lap timing display for use with VBOX Video HD2
You need to upgrade the display via a VBOX Video HD2 or a Video VBOX Pro. How to upgrade ...
Password protected. REGISTER your video logger to receive login details.
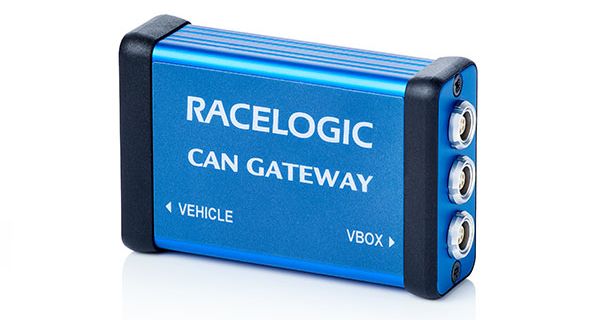
CAN Gateway Firmware
Uploaded: 11/2025
Logs vehicle CAN bus or CAN FD data in a VBOX system where secondary CAN modules are used.
Please only use with VBOX CAN Gateway Setup software version 1.0.62 and higher.
Password protected. REGISTER your VBOX Video to receive login details.
Track Map Database
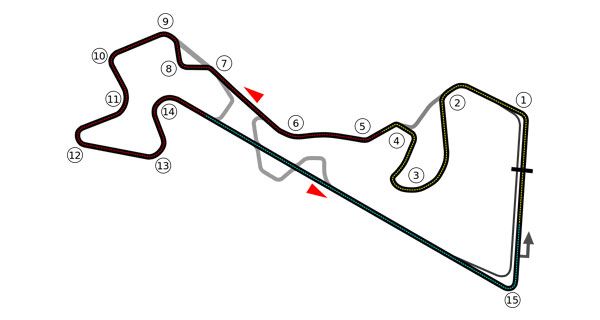
You can update the track map database stored within the VBOX Video HD2 unit independently of the main unit firmware update. Please find the database file (Database_Hd.vvhdb), latest circuit list and instructions on how to install it here.
Mini Input Module configuration file for VBOX Video HD2
Uploaded: 6/2015
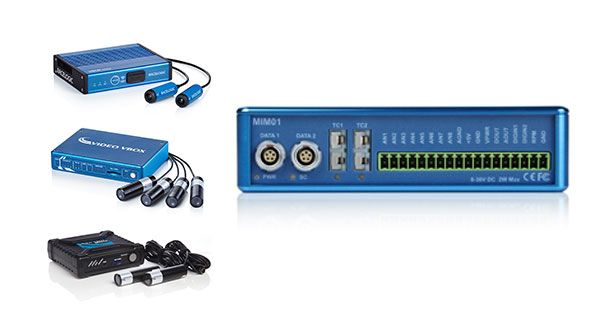
Mini Input Module configuration file for use with VBOX Vide HD2 and Video VBOX preset MIM channels. The file should be uploaded to the module using VBOX Setup software. Setup instructions here.
Compatible Products (Product Code):
MIM01
Password protected. REGISTER your Video VBOX to receive login details.
Video VBOX
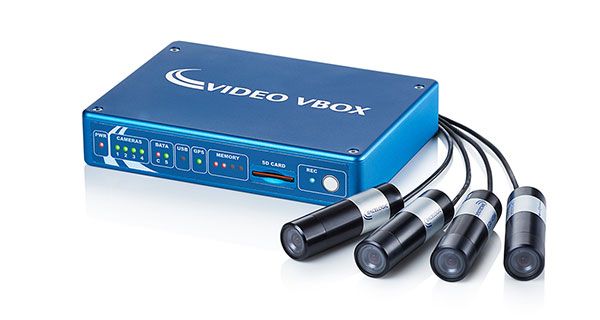
Video VBOX Pro (20 Hz)
Firmware - V3 only
Uploaded: 4/2022
Password protected. REGISTER your Video VBOX to receive login details.
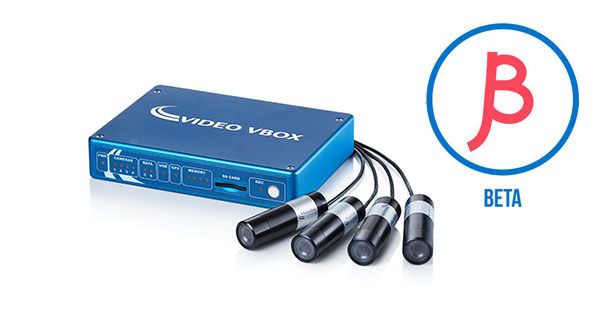
Video VBOX Pro
Beta Firmware
Uploaded: 8/2016
For all Video VBOX Pro versions apart from VD20P-V3. The beta firmware fixes a GPS/GLONASS issue on the P4PV-2 variant only.
Password protected. REGISTER your Video VBOX to receive login details.
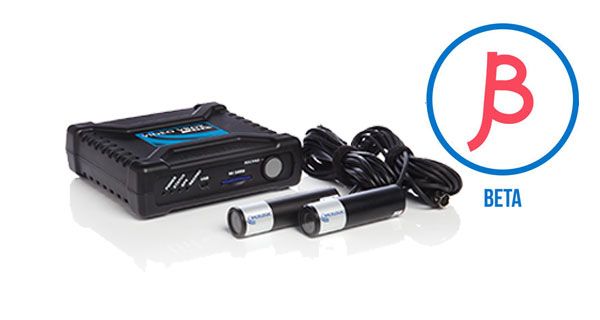
Video VBOX Lite (Legacy)
Beta Firmware
Uploaded: 7/2019
Version 3.0.86 modifies an ongoing issue with the unit booting up fully and the OLED showing Communication Error.
Password protected. REGISTER your Video VBOX to receive login details.

CAN Gateway
Uploaded: 12/2020
Logs vehicle CAN bus or CAN FD data in a VBOX system where secondary CAN modules are used.
Password protected. REGISTER your VBOX Video to receive login details.

Mini OLED Display
Uploaded: 6/2022
Miniature speed & lap timing display for use with VBOX Video HD2
You need to upgrade the display via a VBOX Video HD2 or a Video VBOX Pro. How to upgrade ...
Password protected. REGISTER your video logger to receive login details.
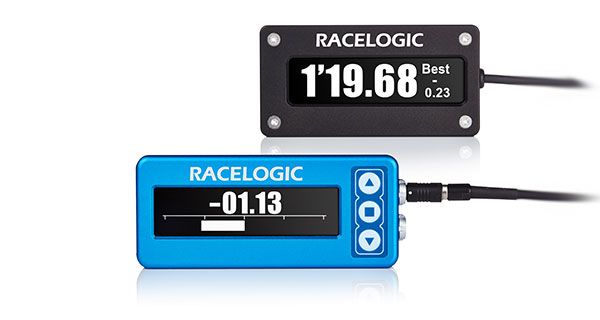
OLED Display (Legacy)
Uploaded: 6/2022
Predictive Lap Timing Display firmware for use with Video VBOX.
You can upgrade the display via a Video VBOX. When using a PC, you will also need RACELOGIC Upgrader. How to upgrade...
Password protected. REGISTER your video logger to receive login details.

Mini Input Module configuration file for Video VBOX
Uploaded: 6/2015
Mini Input Module configuration file for use with Video VBOX preset MIM channels. The file should be uploaded to the module using VBOX Setup software. Setup Instructions. Setup instructions here.
Compatible Products (Product Code):
MIM01
Password protected. REGISTER your Video VBOX to receive login details.

Track Map Database
You can update the track map database stored within the Video VBOX unit independently of the main unit firmware update. Please find the database file (Database.vidup), latest circuit list and instructions on how to install it here.
Performance Box Touch & VBOX Touch
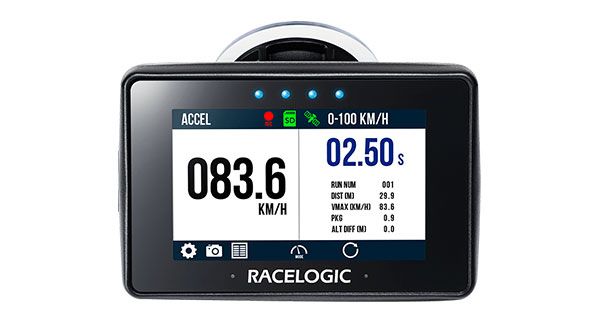
Performance Box Touch
Firmware
Uploaded: 16/06/2023
Password protected. REGISTER your Performance Box Touch to receive login details.

Track Map Database
You can update the track map database stored within your VBOX Touch or Performance Box Touch independently of the main unit firmware update. Please find the track database file (TRACKS.BDB), latest circuit list and instructions on how to install it here.
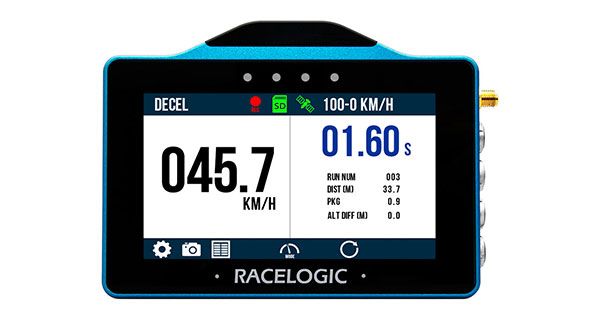
VBOX Touch Firmware
- Performance App -
Uploaded: 18/10/2022
The .zip file includes (1) the firmware file, (2) an internal CAN database file, and (3) instructions.
Password protected. REGISTER your VBOX Touch to receive login details.
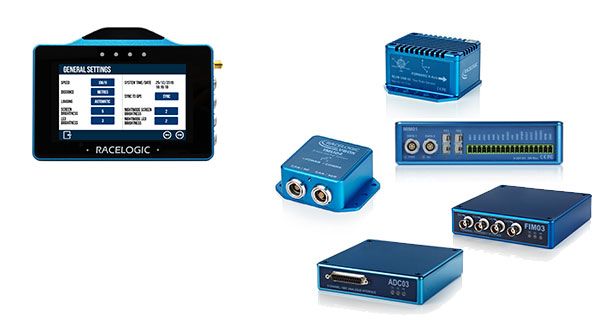
Module configuration files
for VBOX Touch
Configuration files for compatibility with VBOX Touch RL MODULES mode. The appropriate file should be uploaded to the module using VBOX Setup software. Setup instructions coming soon.
Compatible Products (Product Code):
ADC03 | FIM03
YAW03 | IMU03 | IMU04 | IMU05 | IMU05-S
MIM01 | TC8
Password protected. REGISTER your VBOX Touch to receive login details.
VBOX Sport
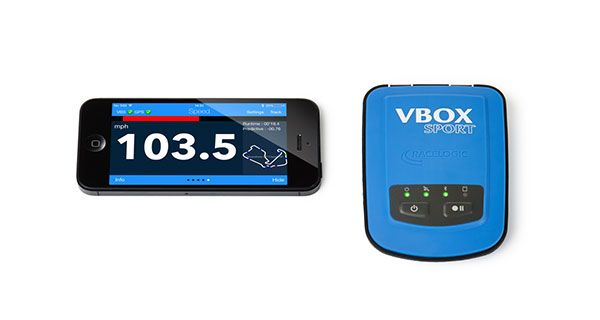
VBOX Sport (V3) Firmware
Uploaded: 2/2024
From S/N 7018620 onwards
Password protected. REGISTER your VBOX Sport to receive login details.

VBOX Sport (V2) Firmware
Uploaded: 6/2019
S/N 7015757 to S/N 7018619 only
Password protected. REGISTER your VBOX Sport to receive login details.

VBOX Sport (V1) Firmware
Uploaded: 6/2015
Up to S/N 7015755 only!
Password protected. REGISTER your VBOX Sport to receive login details.
VBOX LapTimer
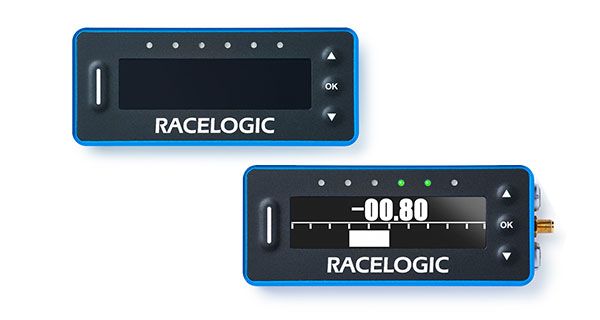
VBOX LapTimer (V2 only)
Firmware
Updated: 10/2025
Password protected. REGISTER your VBOX LapTimer to receive login details.
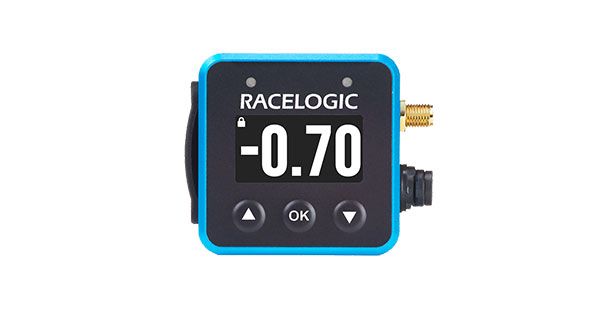
VBOX Mini LapTimer
Firmware
Uploaded: 6/2022
Password protected. REGISTER your Mini VBOX LapTimer to receive login details.
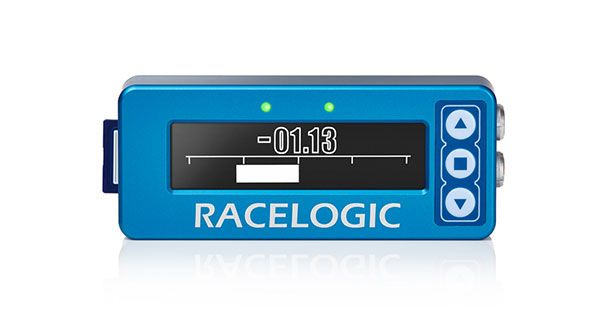
VBOX LapTimer (V1 only)
Legacy Firmware
Updated: 6/2022
Password protected. REGISTER your VBOX LapTimer to receive login details.

Track Map Database
You can update the track map database stored within your VBOX LapTimer independently of the main unit firmware update. Please find the track database file (TRACKS.BDB), latest circuit list and instructions on how to install it here.
VBOX Pit Lane Timer
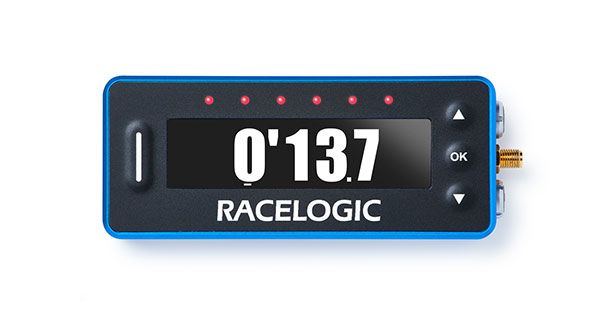
VBOX Pit Lane Timer (V2 only) Firmware
Uploaded: 10/2024
Password protected. REGISTER your VBOX Pit Lane Timer to receive login details.
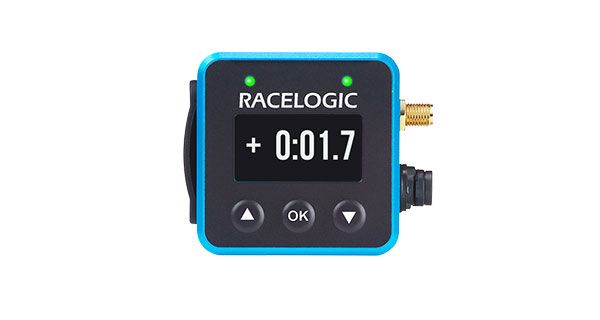
VBOX Mini Pit Lane Timer
Firmware
Updated: 04/2023
Password protected. REGISTER your VBOX Pit Lane Timer to receive login details.
VBOX Pit Lane Timer (V1 only)
Legacy Firmware
Updated: 04/2023
Password protected. REGISTER your VBOX Pit Lane Timer to receive login details.
PerformanceBox & DriftBox
Start/Finish and Split Line Files
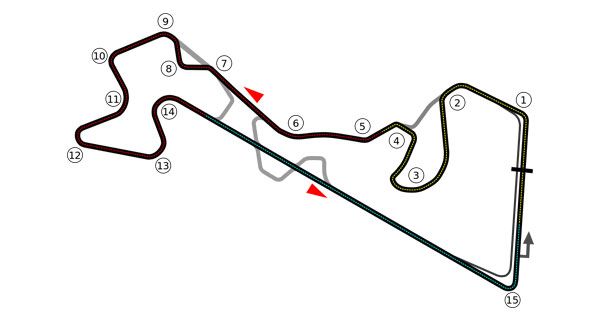
You can find a zip folder containing circuit start/finish and split lines in .dsf format, as well as instructions on how to load a DSF (start line) file here.
Modules & Displays

CAN Gateway
Uploaded: 11/2025
Logs vehicle CAN bus or CAN FD data in a VBOX system where secondary CAN modules are used.
Please only use with VBOX CAN Gateway Setup software version 1.0.62 and higher.
Password protected. REGISTER your VBOX Video to receive login details.

OLED Display (DSP07-L)
First release: 10/2025
Predictive Lap Timing Display firmware for use with VBOX Video HD2
Password protected. REGISTER your video logger to receive login details.

Mini OLED Display
Uploaded: 6/2022
Predictive Lap Timing Display firmware for use with VBOX Video HD2 or Video VBOX Pro
You can upgrade the display via a VBOX Video HD2 or a Video VBOX Pro. How to upgrade ...
Password protected. REGISTER your video logger to receive login details.

OLED Display (Legacy)
Uploaded: 6/2022
Predictive Lap Timing Display firmware for use with VBOX Video HD2 and VBOX Video
How to upgrade via Video VBOX ...
Password protected. REGISTER your video logger to receive login details.

Mini Input Module Configuration File for VBOX Video HD2 & VVB
Setup Instructions
Mini Input Module configuration file for use with Video VBOX and VBOX Video HD2 preset MIM channels. The file has should be uploaded to the module using VBOX Setup software.
Compatible Products (Product Code):
MIM01
Password protected. REGISTER your Video VBOX to receive login details.

Module Configuration Files for
VBOX Touch
Configuration files for compatibility with VBOX Touch RL MODULES mode. The appropriate file should be uploaded to the module using VBOX Setup software. Setup instructions coming soon.
Compatible Products (Product Code):
ADC03 | FIM03
YAW03 | IMU03 | IMU04 | IMU05 | IMU05-S
MIM01 | TC8
Password protected. REGISTER your VBOX Touch to receive login details.


